Follow along here:
Or go at your own pace:
Steps for Setting Up Email Vault for Clients
Follow these steps to add clients one at a time. We also offer bulk upload options, and you can find the instructions for that here. When you upload a client, it creates the account and invites the client to join their own Email Vault organization.
Creation Date: May 21, 2024 Created By: Elizabeth Hanfman View most recent version on Tango.us
# Email Vault
1. Click on Client Dashboard
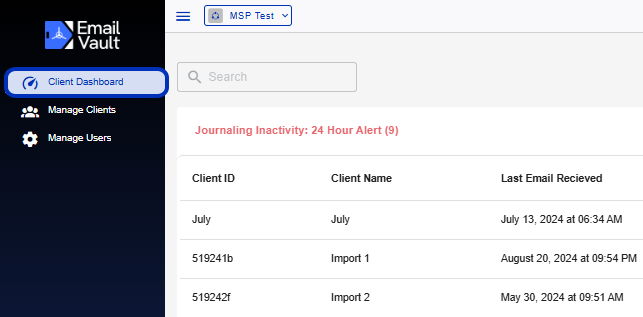
2. Click on Add Client

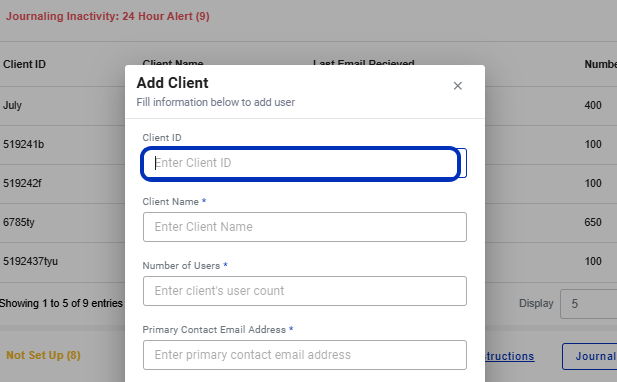
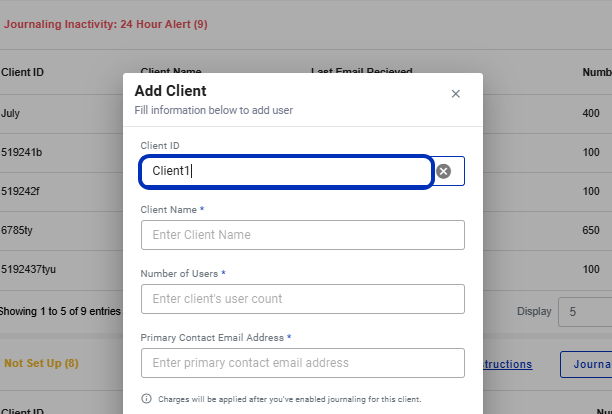
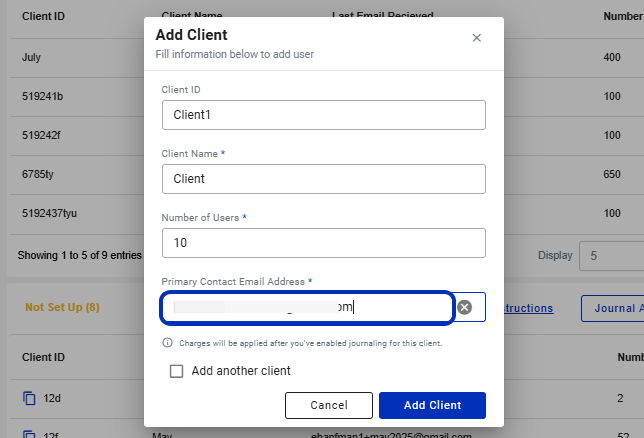
3. Type in Client ID
4. Type Name
5. Enter number of users
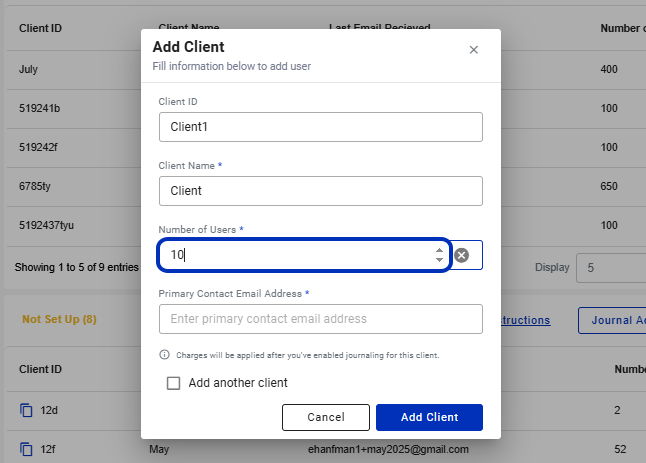
6. Invite the primary contact address of that client.
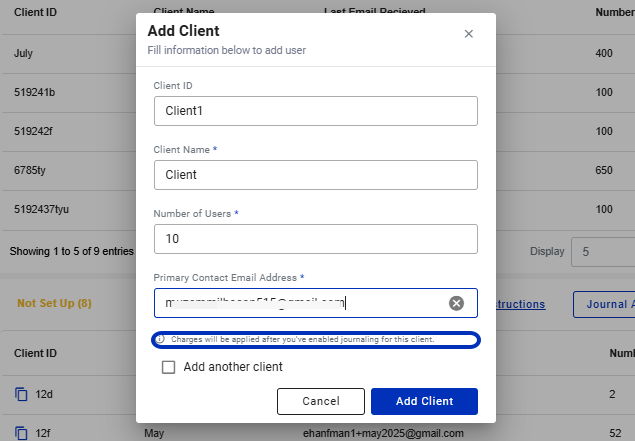
7. Until you have enabled journaling for the client, you will not be billed for their users.
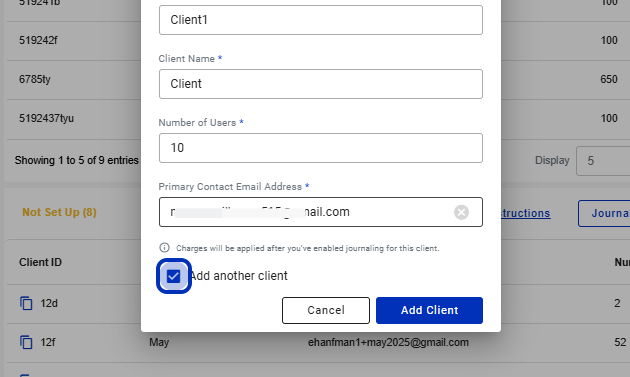
8. If you would like to enter another client, use this check box and the window will refresh.
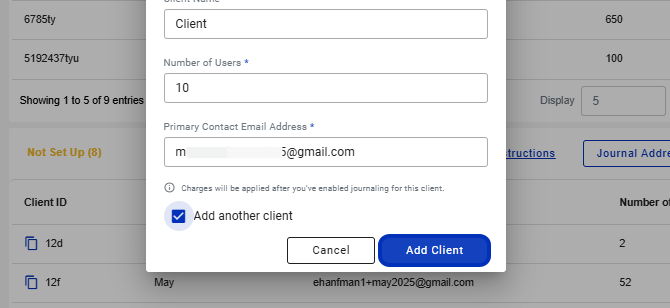
9. Click on Add Client
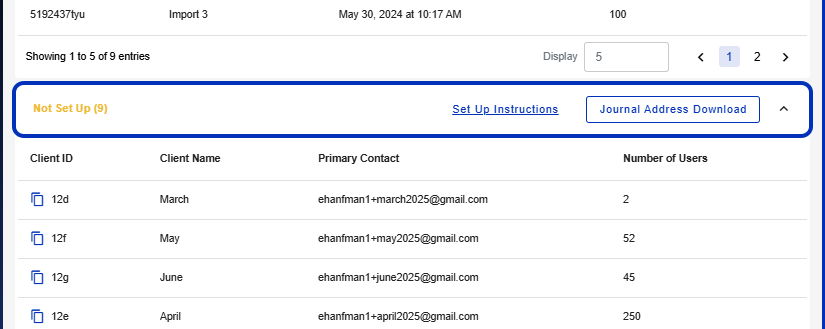
10. Your client will now appear in the Not Set Up panel until you enable journaling.
 Created with Tango.us