Follow along here:
Or go at your own pace here:
This article will cover where to find your organization's Journaling Address, the basics of Journaling Setup, and how to manage journaling once setup is complete.
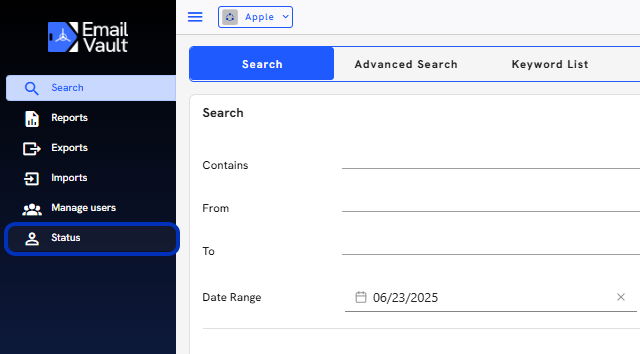
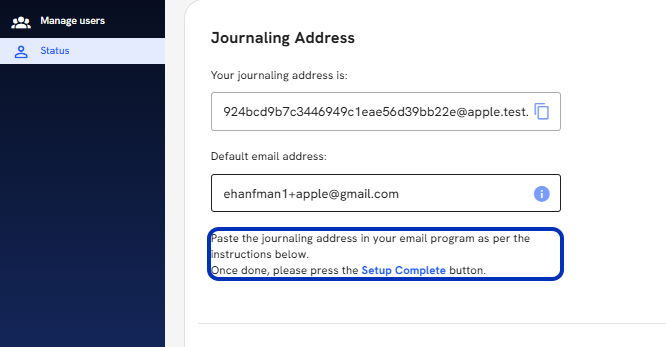
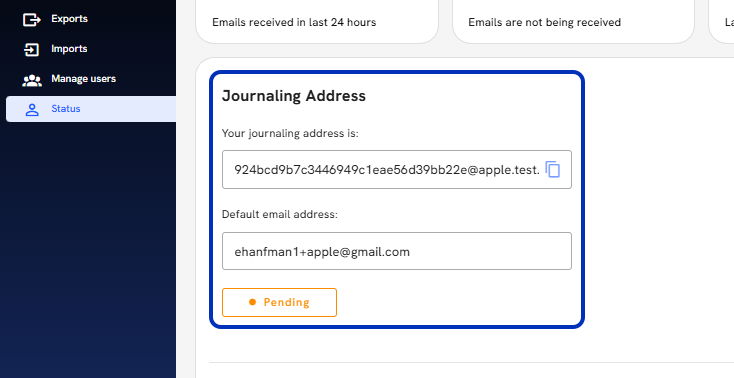
2. Click on Status
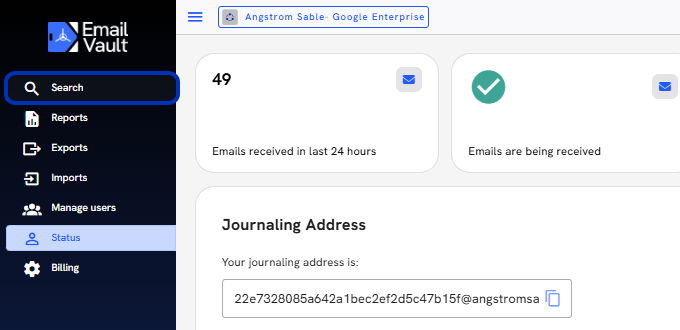
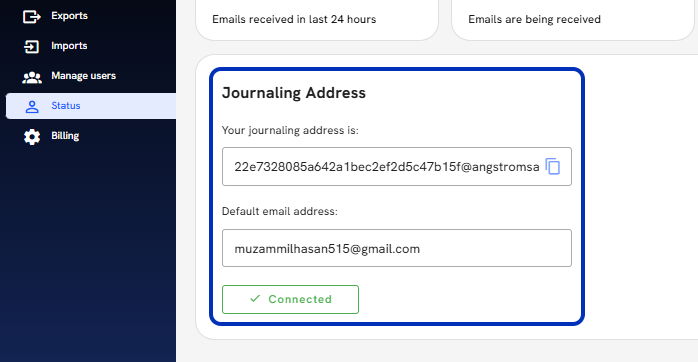
3. View and copy your unique journaling address.
Your organization's journaling address is made up of <unique_id>@<organization_short_name>.myjournal.mx
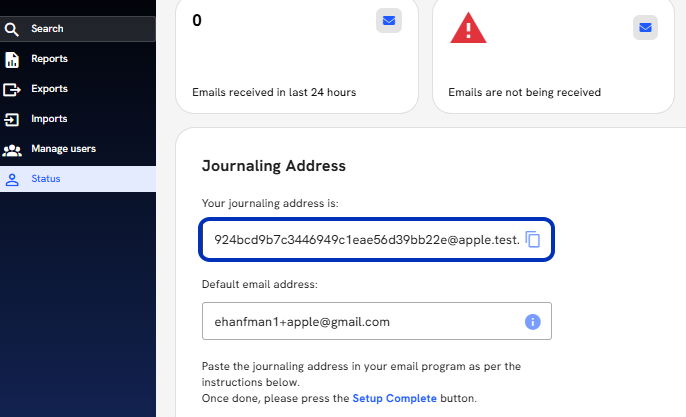
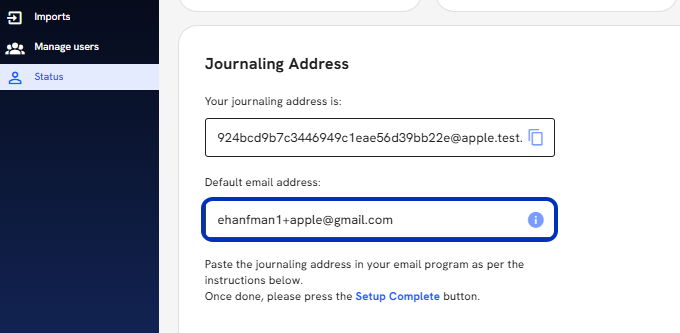
4. Default Email Address
This is the address that you set up your account with. It should be an email address associated with your organization's email account. During Journaling Setup, Email Vault will send a test email to this email address; when the email is journaled, Email Vault confirms that your account has been set up correctly.
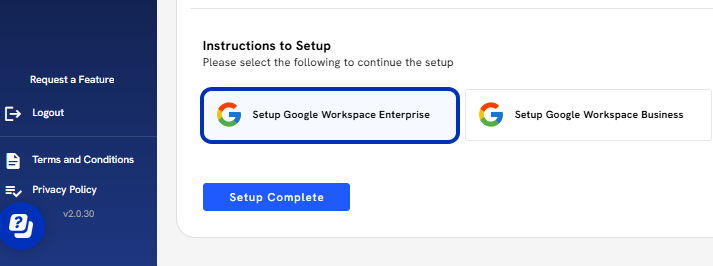
5. Follow the instructions for your company's specific email service. Once the instructions are complete, press the Setup Complete button to test the connection.
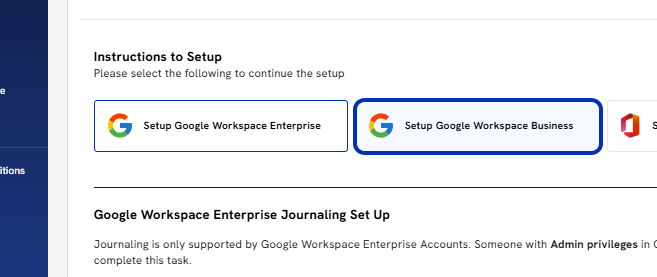
6. Email Vault supports 3 different email services: Google Enterprise
7. GSUITE
8. Microsoft Office 365
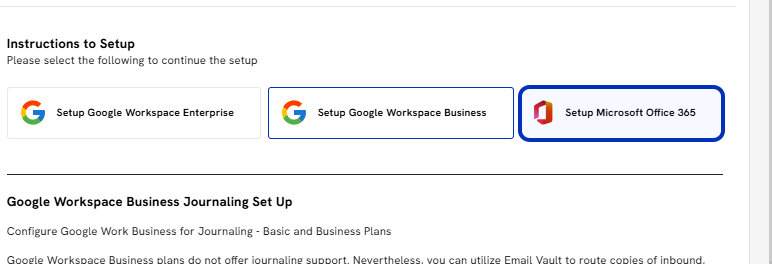
9. Click on the correct email service, and the Journaling instruction will expand.
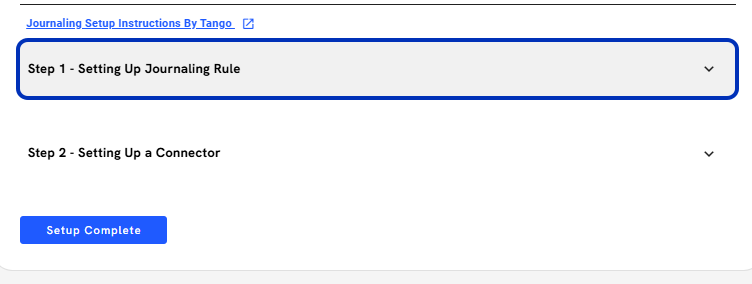
10. Click on the Connector Setup step.
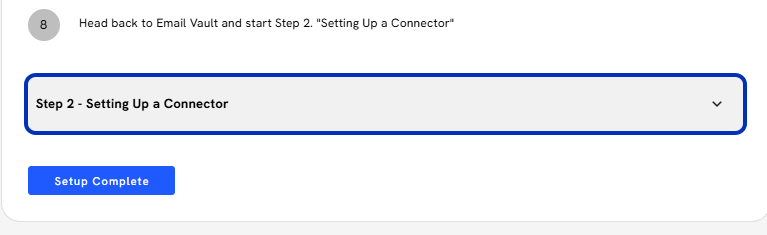
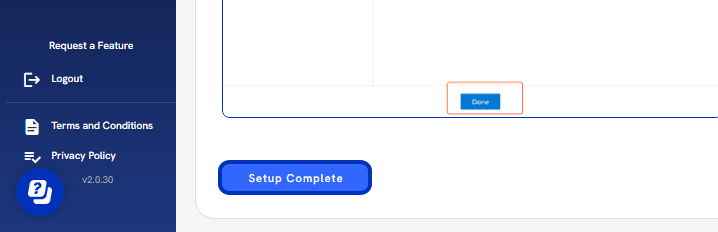
11. When you are done setting up journaling, click on Setup Complete.
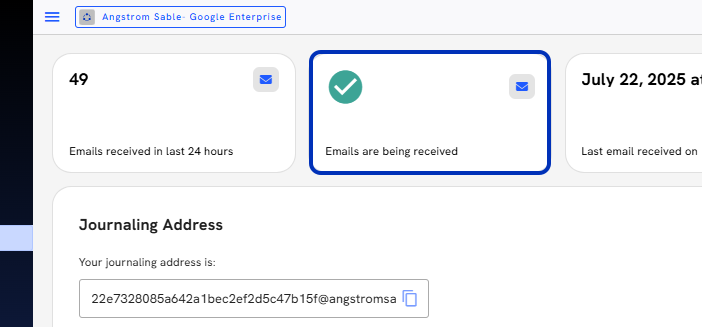
12. The instructions will collapse, and the Status will display as pending while Email Vault sends a test email to your email address. This test can take up to 5min. You are welcome to leave the screen and return to verify the status
13. Once the test email has been journaled, the status will update to 'Connected.'
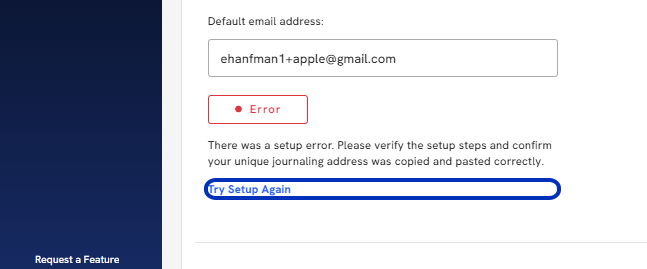
14. If the setup fails, you will get an 'Error' status. Click on Try Setup Again and repeat the process. If you need additional assistance, you can click on the Help Center icon at the bottom right of the screen and ask to chat with someone at Email Vault.
15. On Top, you can continue to confirm the status of your journaling page here.
16. Now click on Search and search for your journaled emails.