You can follow along here:
Or go at your own pace here:
Setting up Multi-Factor Authentication and Resetting Recovery Codes
Creation Date: July 3, 2023 Created By: Elizabeth Hanfman View most recent version
# Email Vault - Our email journaling solution grants you security, compliance, and peace of mind.
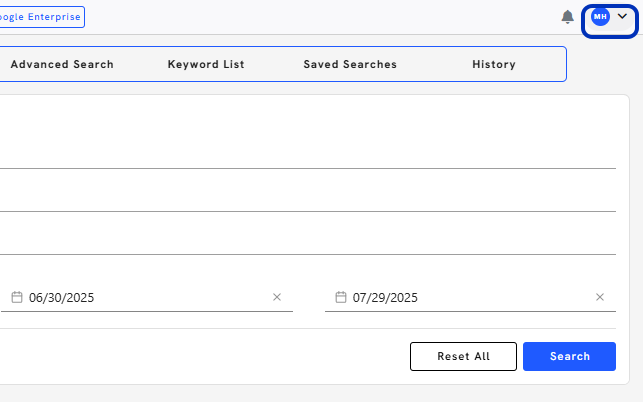
1. Go to my.emailvault.app
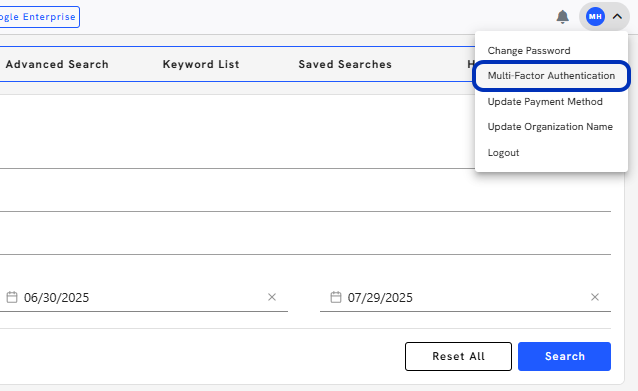
2. Click on Account profile.
3. Select the Multi-Factor Authentication option.
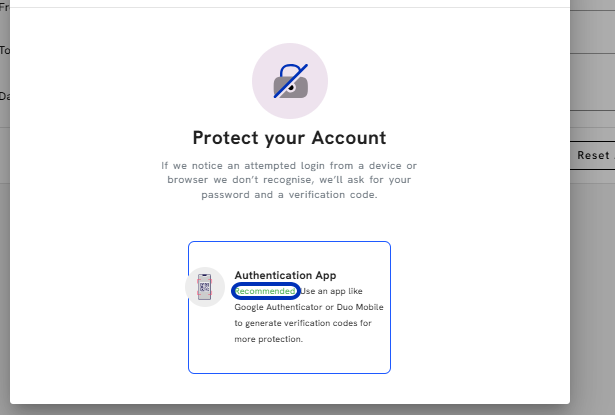
4. Click on Recommended.
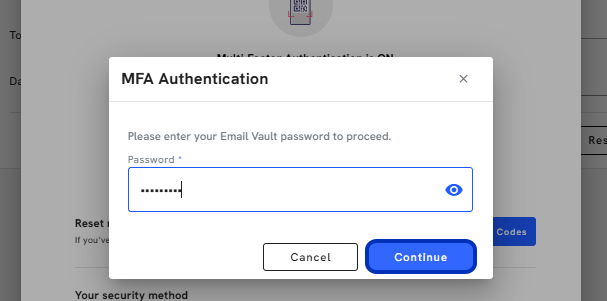
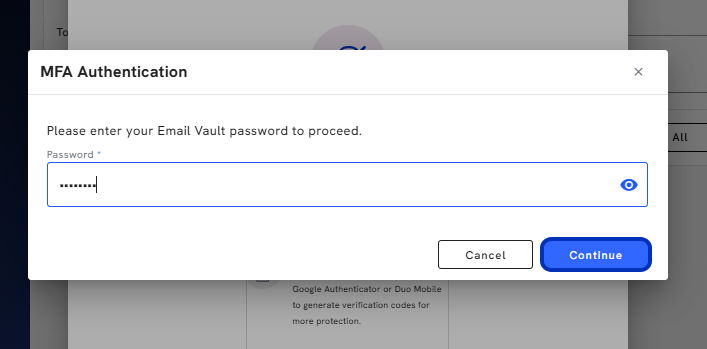
5. Type password.
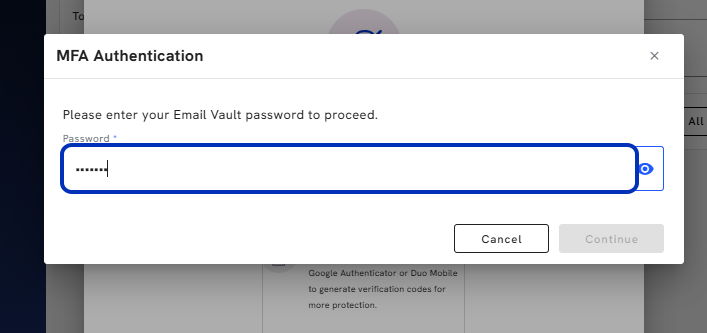
6. Click on Continue
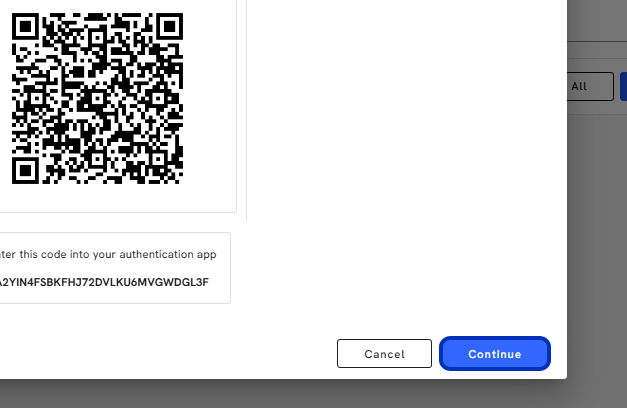
7. Using your phone, download an authentication app, like Google Authenticator, and scan the QR code or enter the unique code provided.
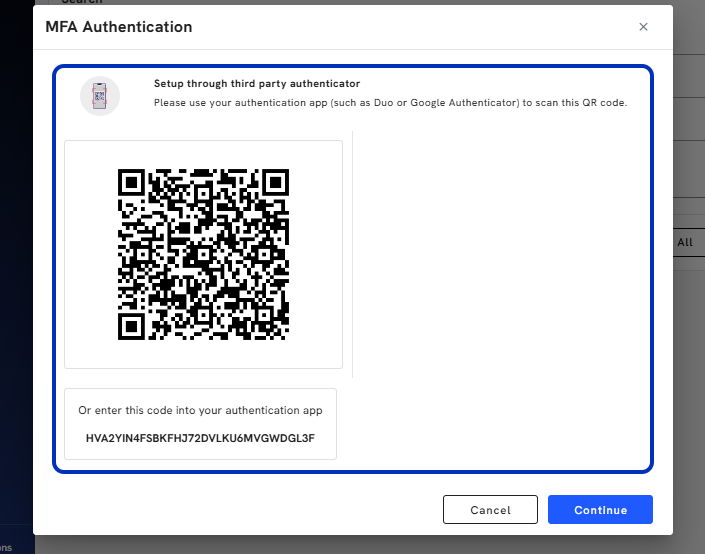
8. Click on Continue.
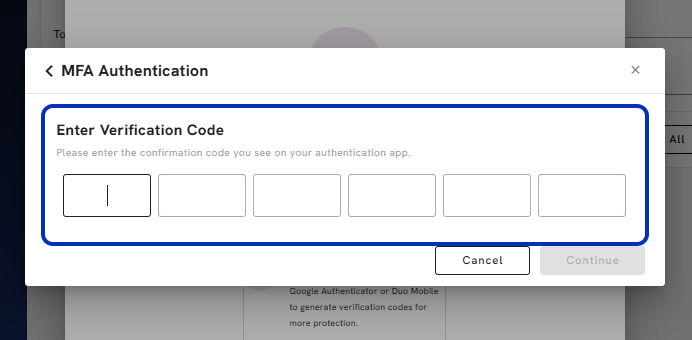
9. Enter the confirmation code you see on your authentication app.
10. Email Vault will provide you with your recovery codes so you can access your account in case something goes wrong with your authentication app.
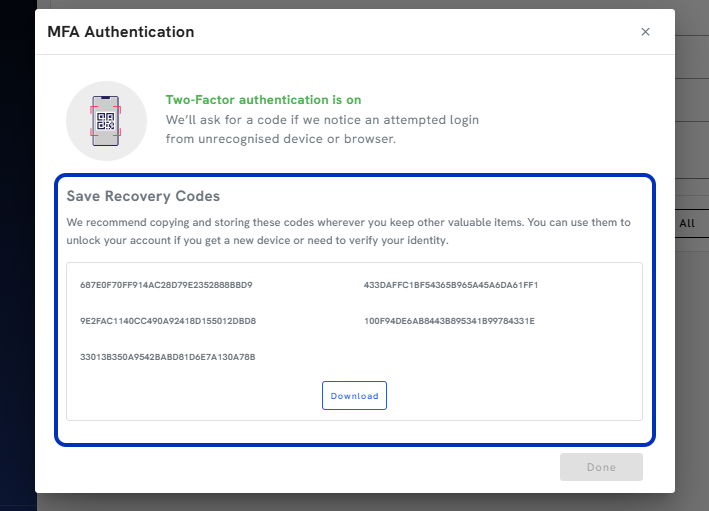
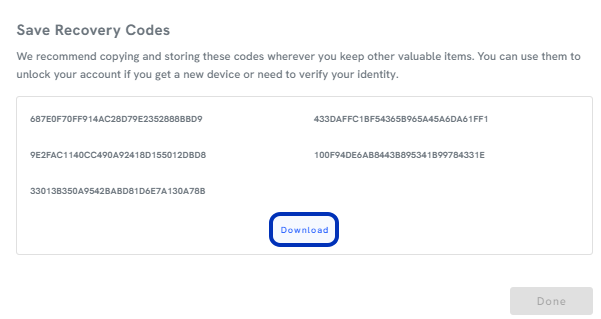
11. You will need to keep these codes in a safe place. Email Vault provides an easy download, so you can print this file and store it in a safe or save it in a secure file.
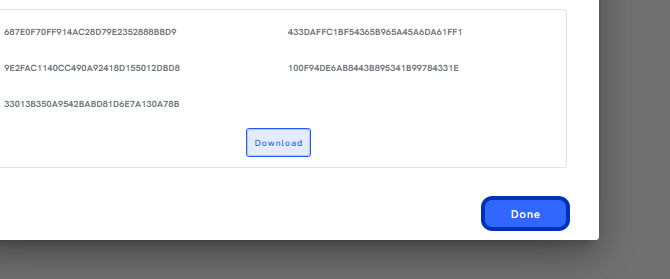
12. Click on Done.
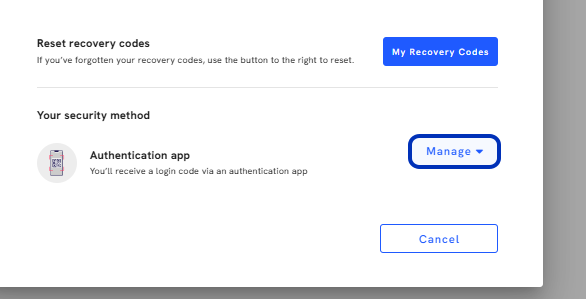
13. To manage by adding new.
14. Click on Manage
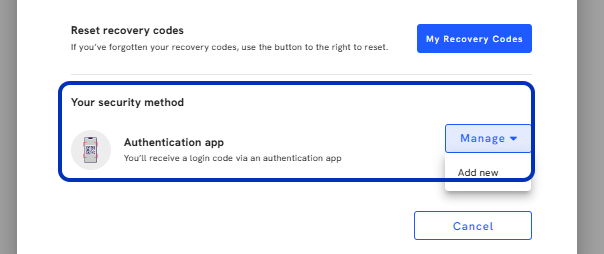
15. Can add a new security method.
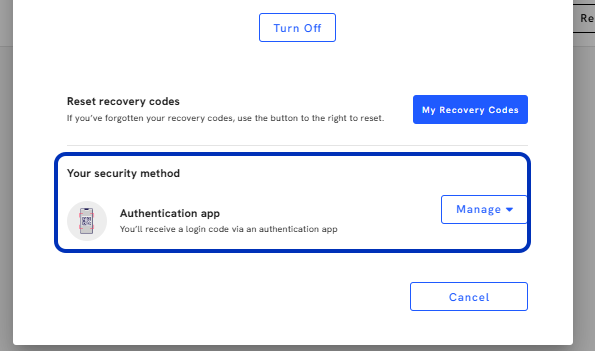
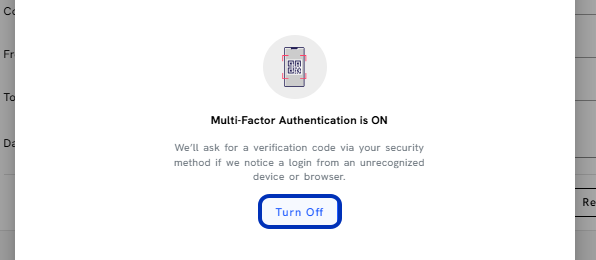
16. To remove MFA
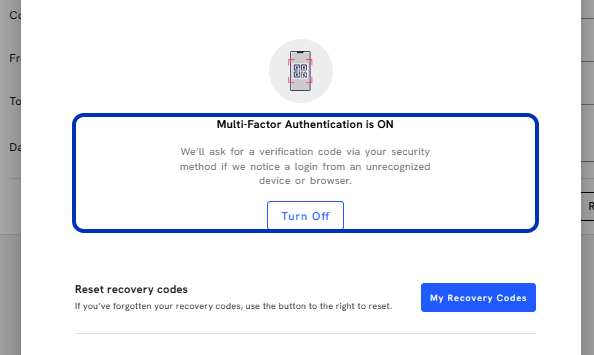
17. Click on Turn Off.
18. Type password.
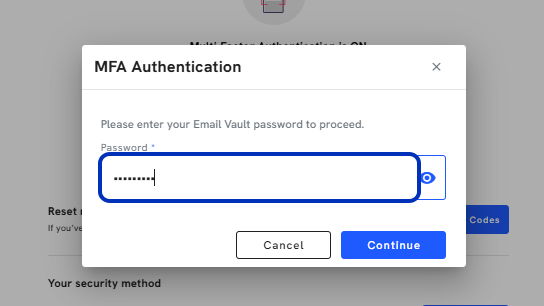
19. Click on Continue